
クルマに詳しくない人でも、ナビの取り付けが出来るように、詳しく説明します(画像付き)
目次
誰でもできる取り付け手順公開
必要工具・部品
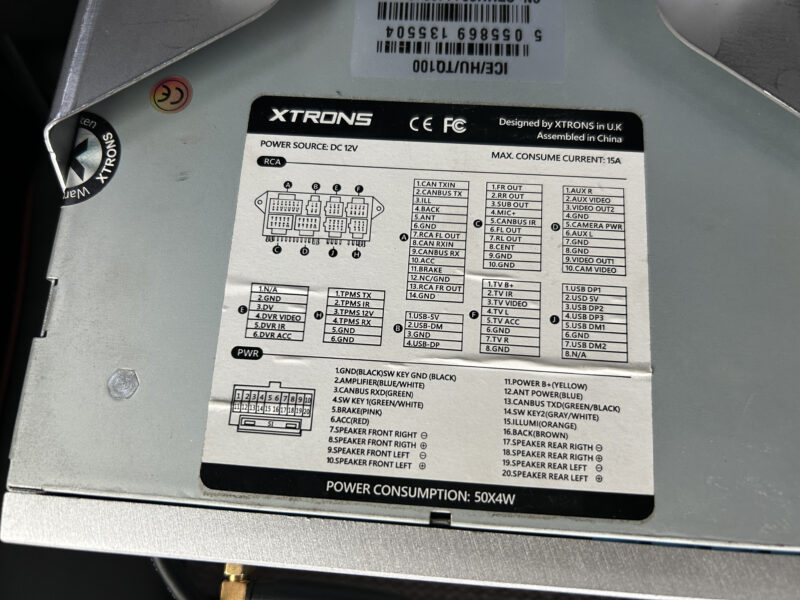
- ナビ本体(XTRONSカーナビTQ100)
- エーモンのハーネスハーネスキット(S-2599)
- ビニールテープ
- 両面テープ
- 養生テープ
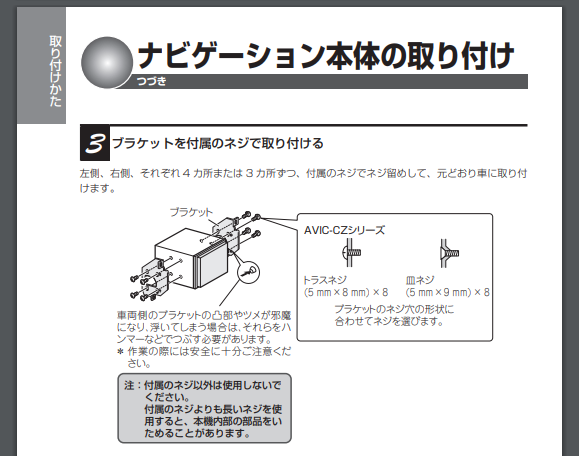
- ナビにあったブラケットに止めるビス4個(トラスネジ5mm×8mm)
- +ドライバー
リンク
※同じ商品が無かったので、おすすめのアンドロイドナビです
リンク
リンク
リンク
リンク
リンク
作業手順を詳しく解説
STEP
バッテリーのマイナス端子を外す
STEP
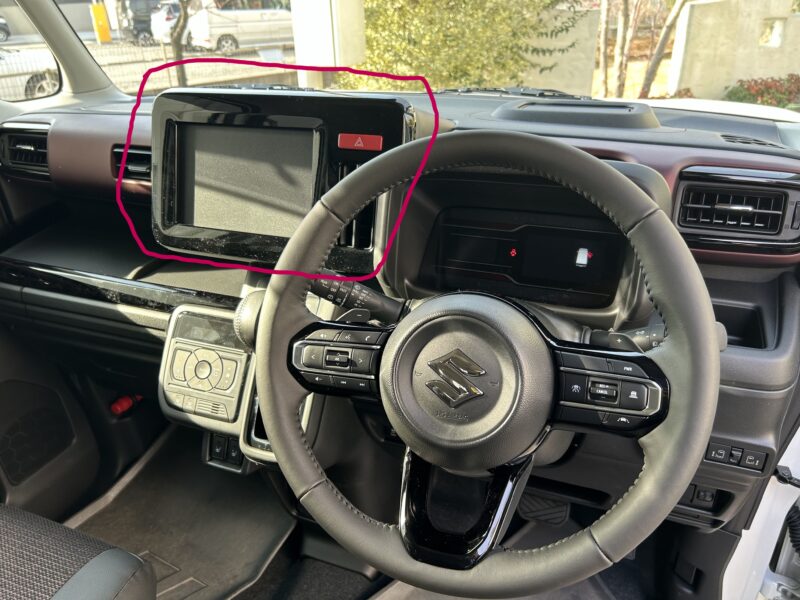
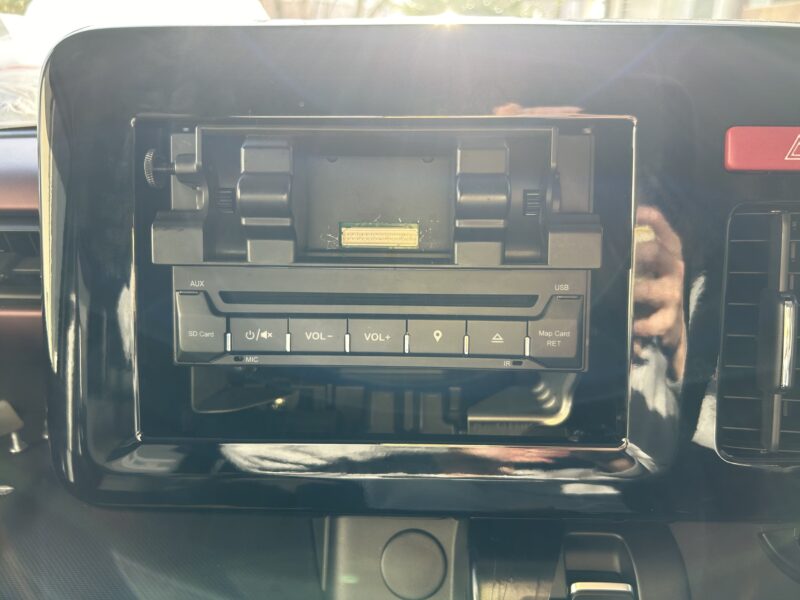
全体像確認
STEP
傷つきそうな場所の養生
 nekoto
私は、めんどくさがり屋なので、養生をせずに作業を始めました。
STEP
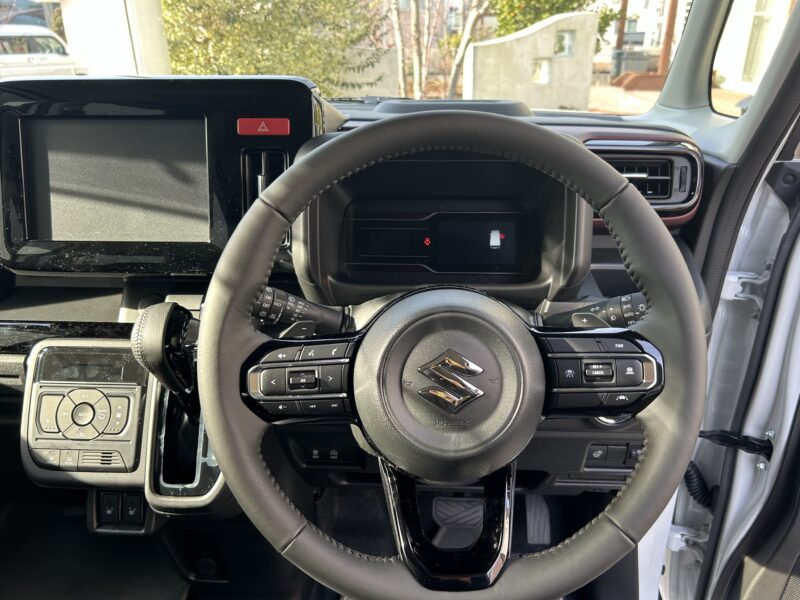
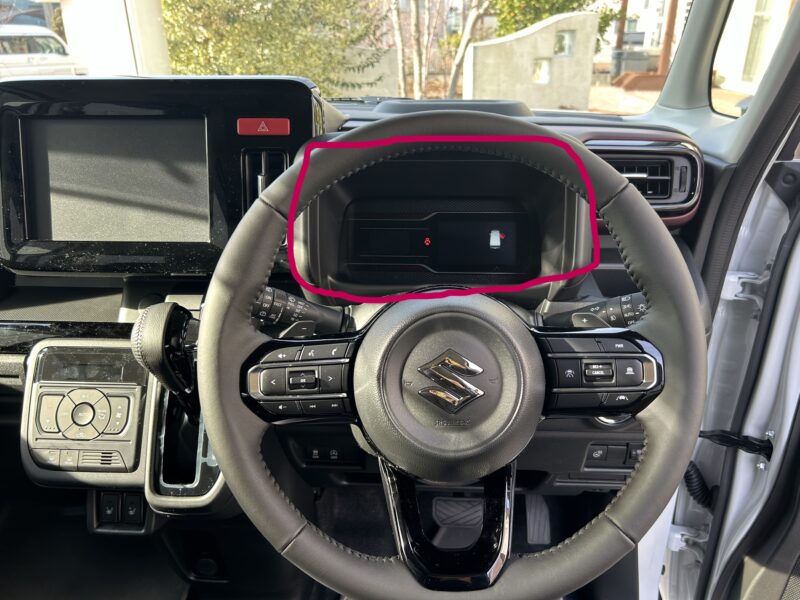
メーターカバー外し
手前に引っ張るのみ
STEP
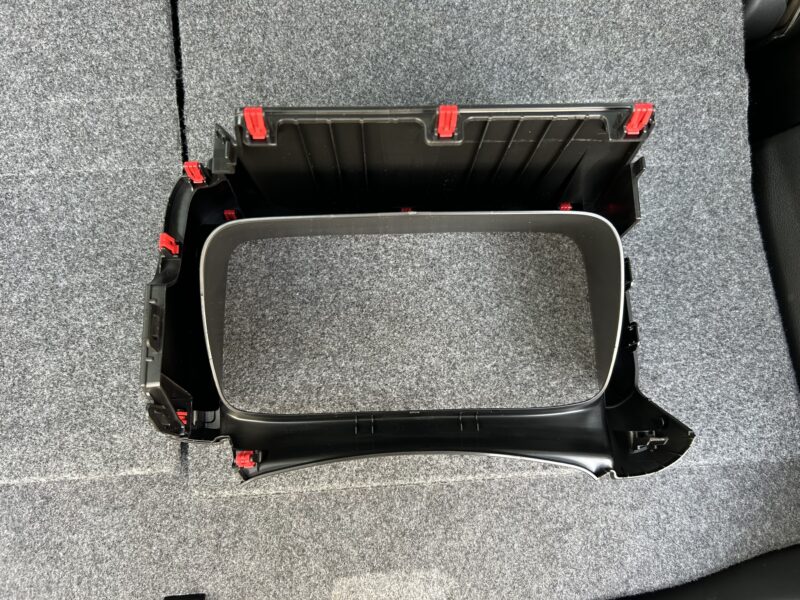
ナビ周りの枠外し①
手前に引っ張るのみ

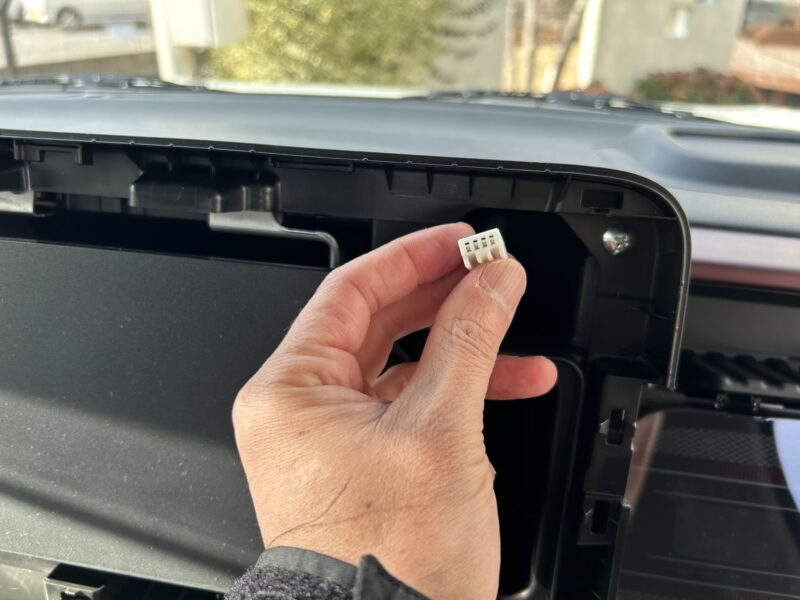
ハザードスイッチのカプラー外し
枠が外れる
STEP
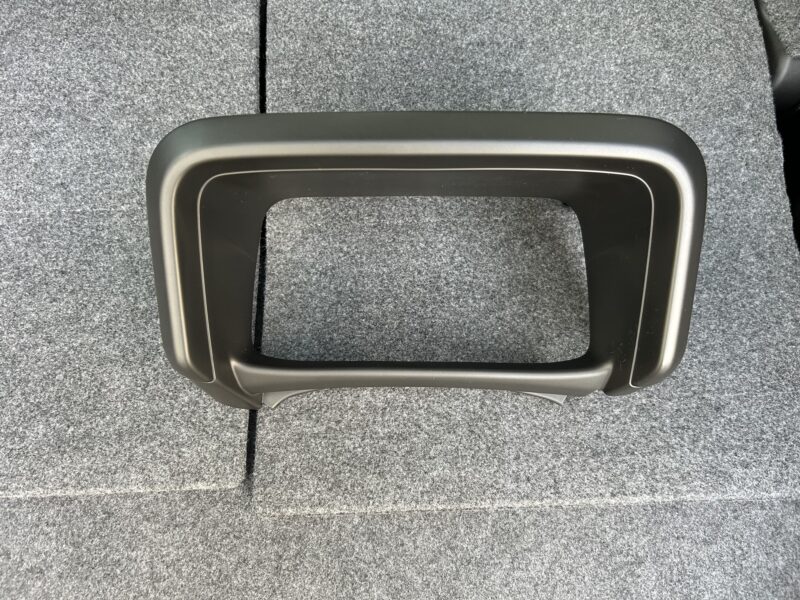
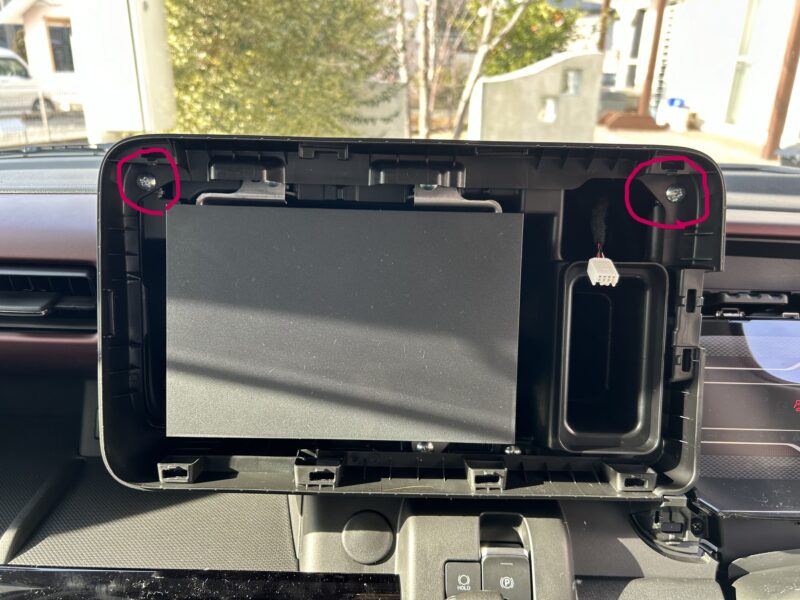
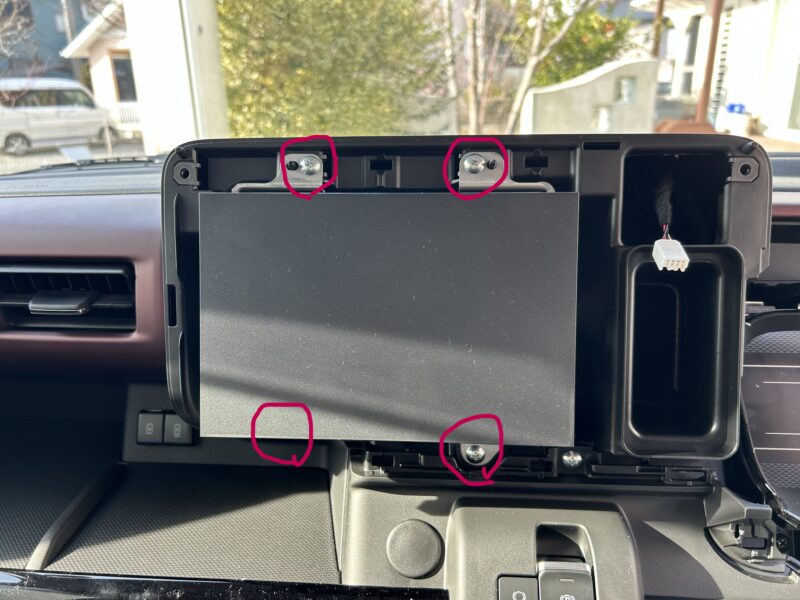
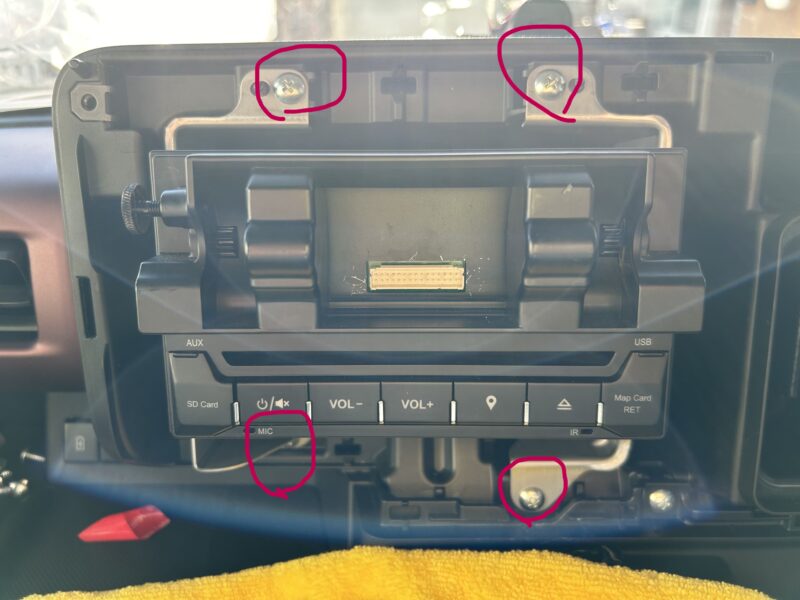
ナビ周りの枠外し②
上部の+ビス2本外し
手前に引っ張るのみ
STEP
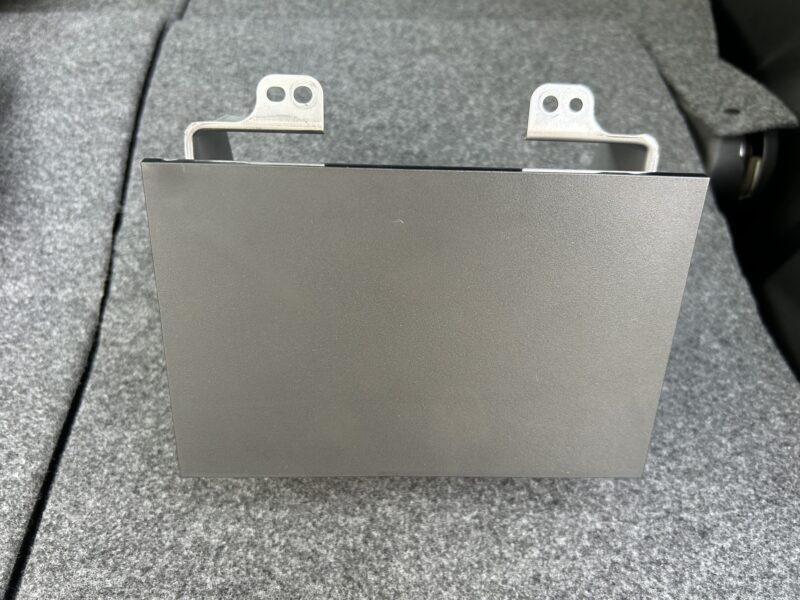
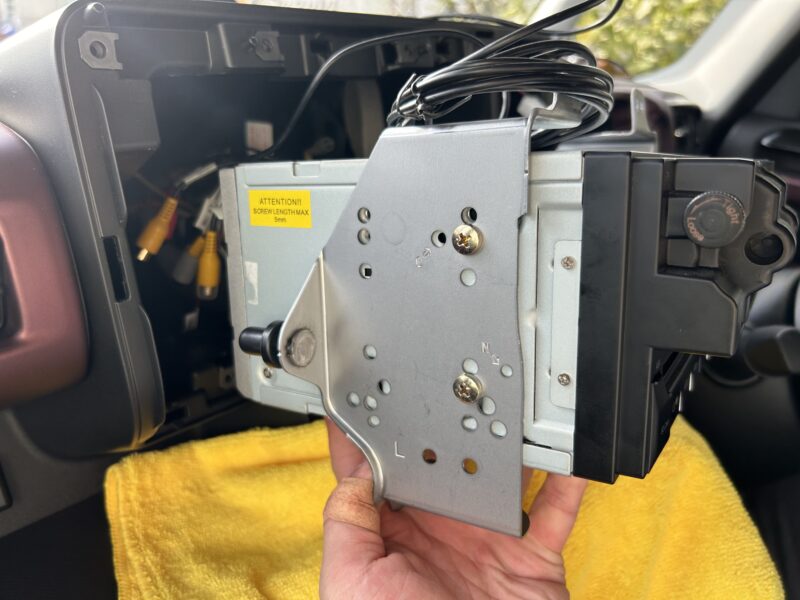
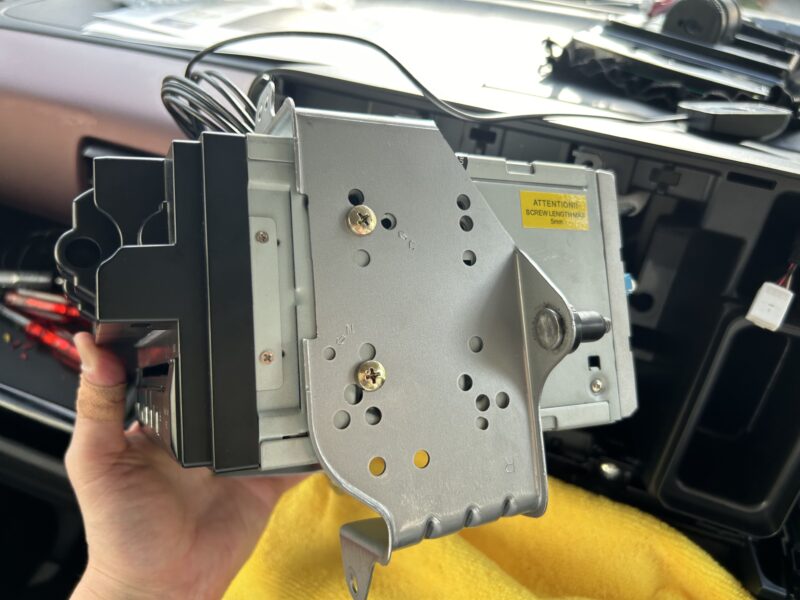
ナビのブラケット外し
+ビス4本外し
手前に引き出す
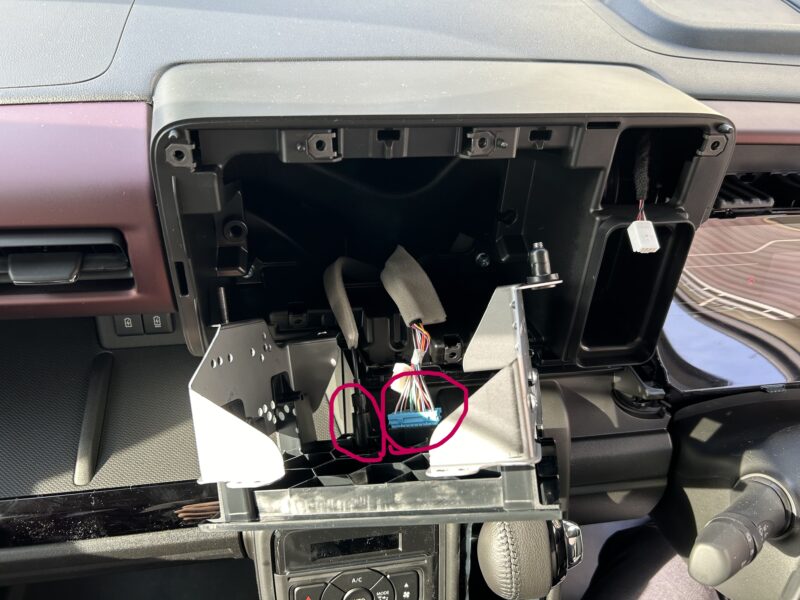
20Pのカプラー外し
ラジオアンテナ線外し
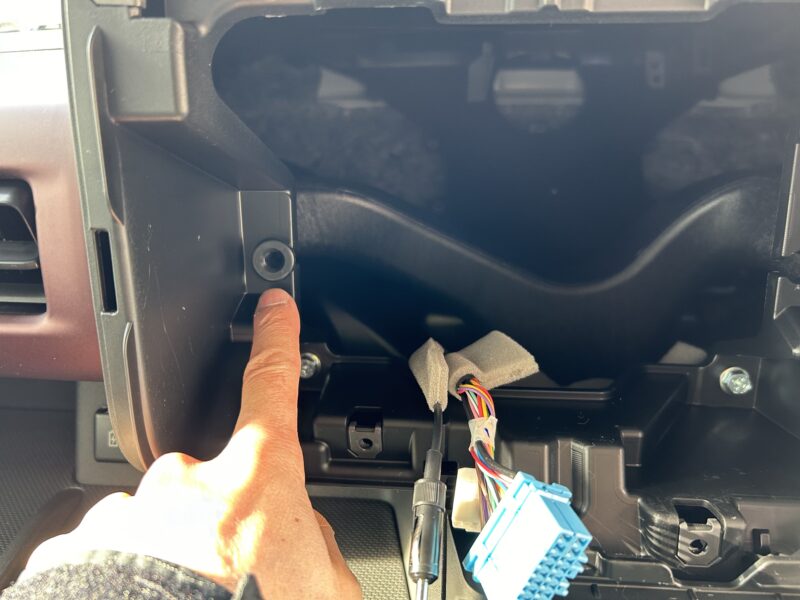
 nekoto
私は、引き出す際に、パネル回りの養生をしておらず、ナビブラケットで傷をつけてしまいました。
 nekoto
皆様は、気を付けてくださいね。
STEP
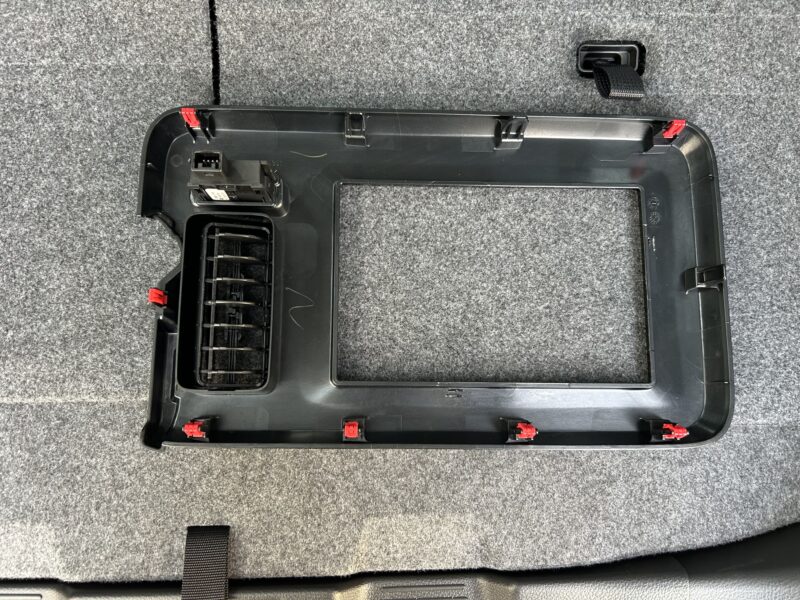
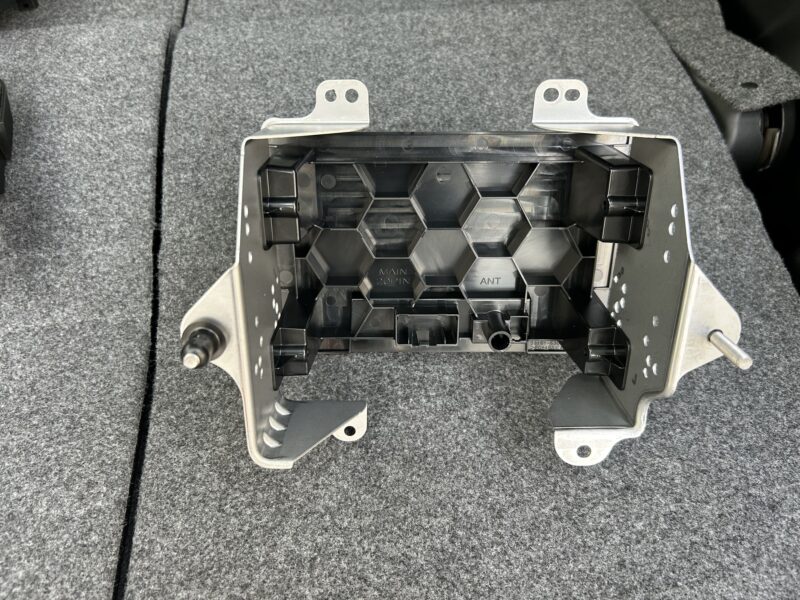
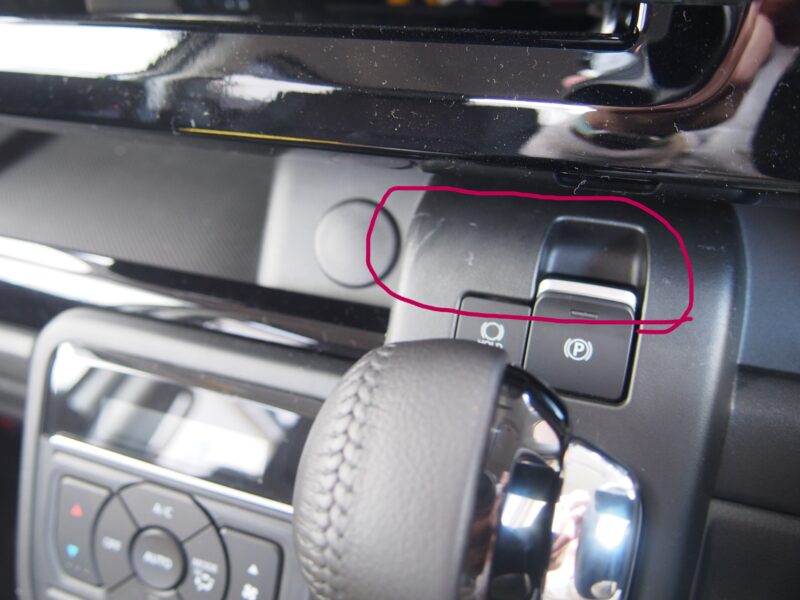
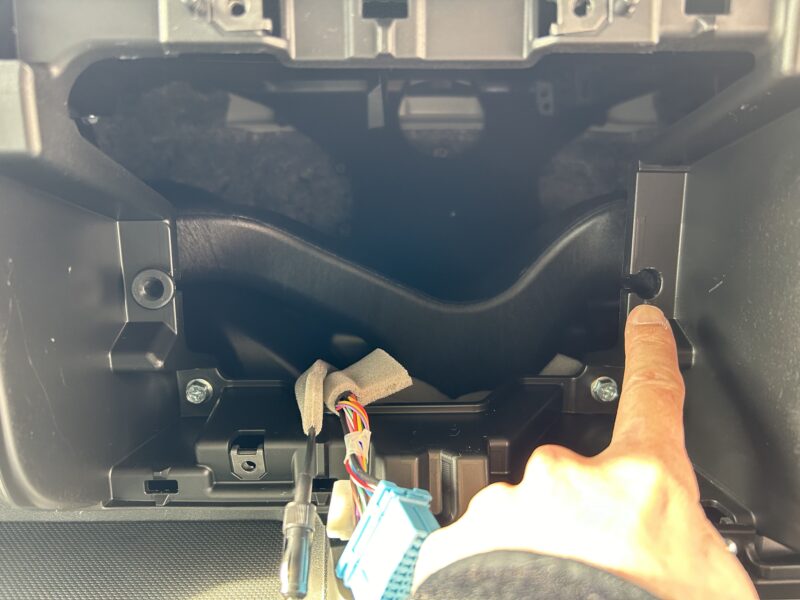
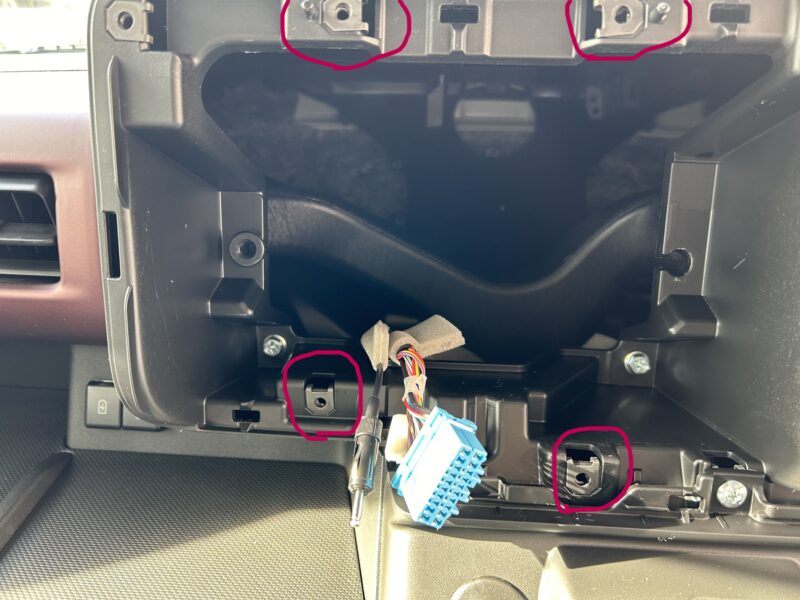
GPSアンテナ配置
車両の一番前に置くような形で取り付けました。
写真の〇の位置に取り付けました。
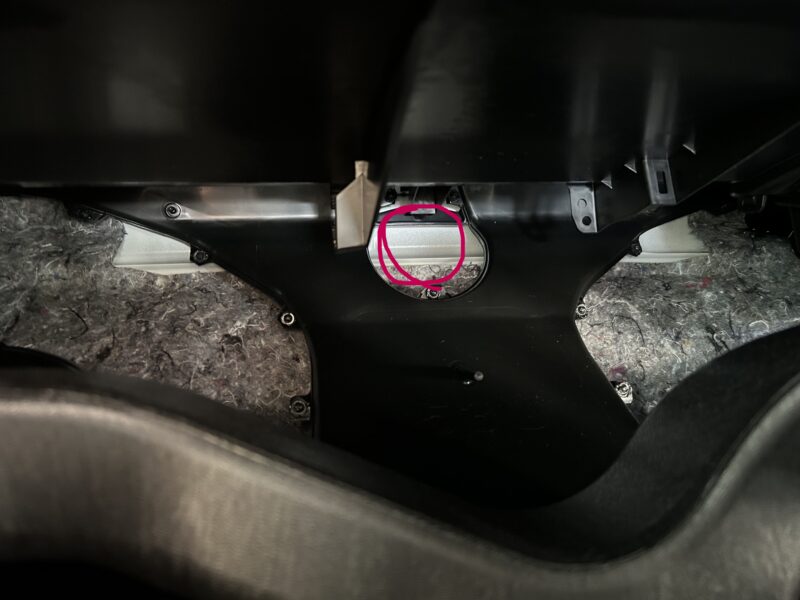 nekoto
最初は、手前のダクトの上に取り付けたのですが、あまりGPSの感度がよくなく、もう一度、ばらしてGPSの場所を付け替えてます。
STEP
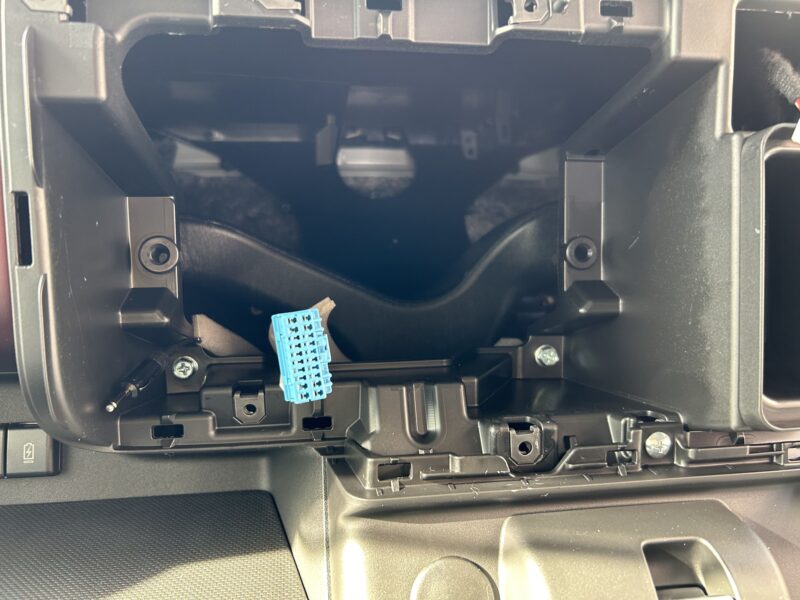
ナビ後ろ側のハーネス取り付け
GPSアンテナの配線取り付け
Wi-Fiアンテナ取り付け
バック、パーキング、車速のカプラー取り付け
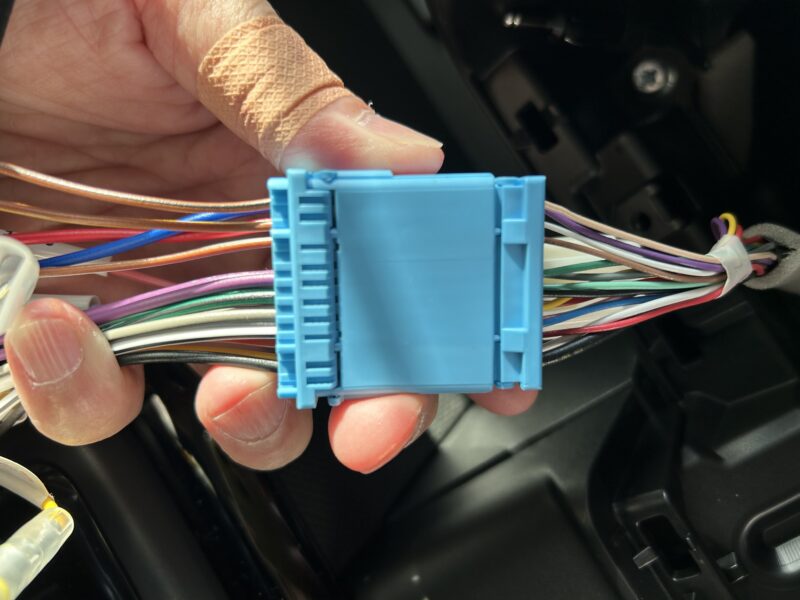
集中カプラー取り付け
詳しくは、別のページで、詳しく解説します。
STEP
ここから先は、元に戻していくだけ
STEP
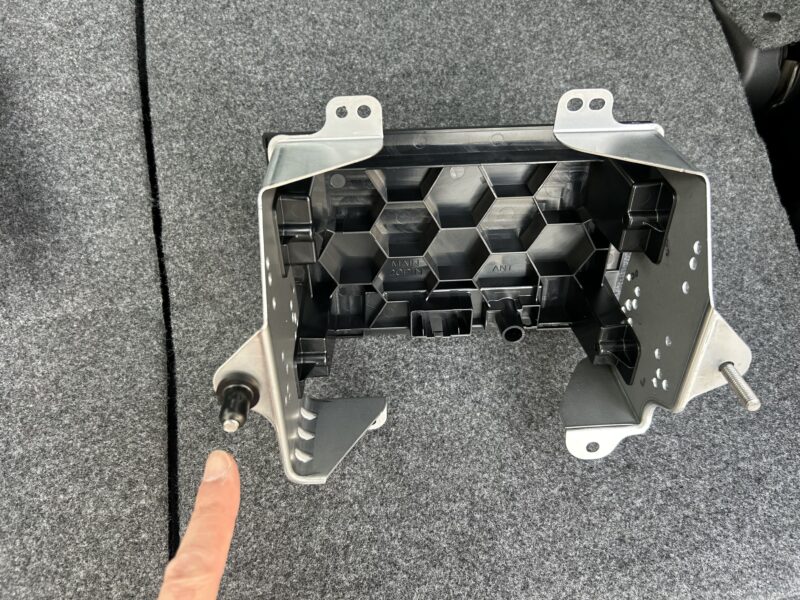
ブラケットのビス4本を取り付け
 nekoto
一度付属のビスとナットを使用しましたが、車両側の形状と合わず、元のに戻してます。
STEP
ナビ周りの枠取付①
取り付け後、ビス2本取り付け
STEP
ナビ周りの枠取付②
STEP
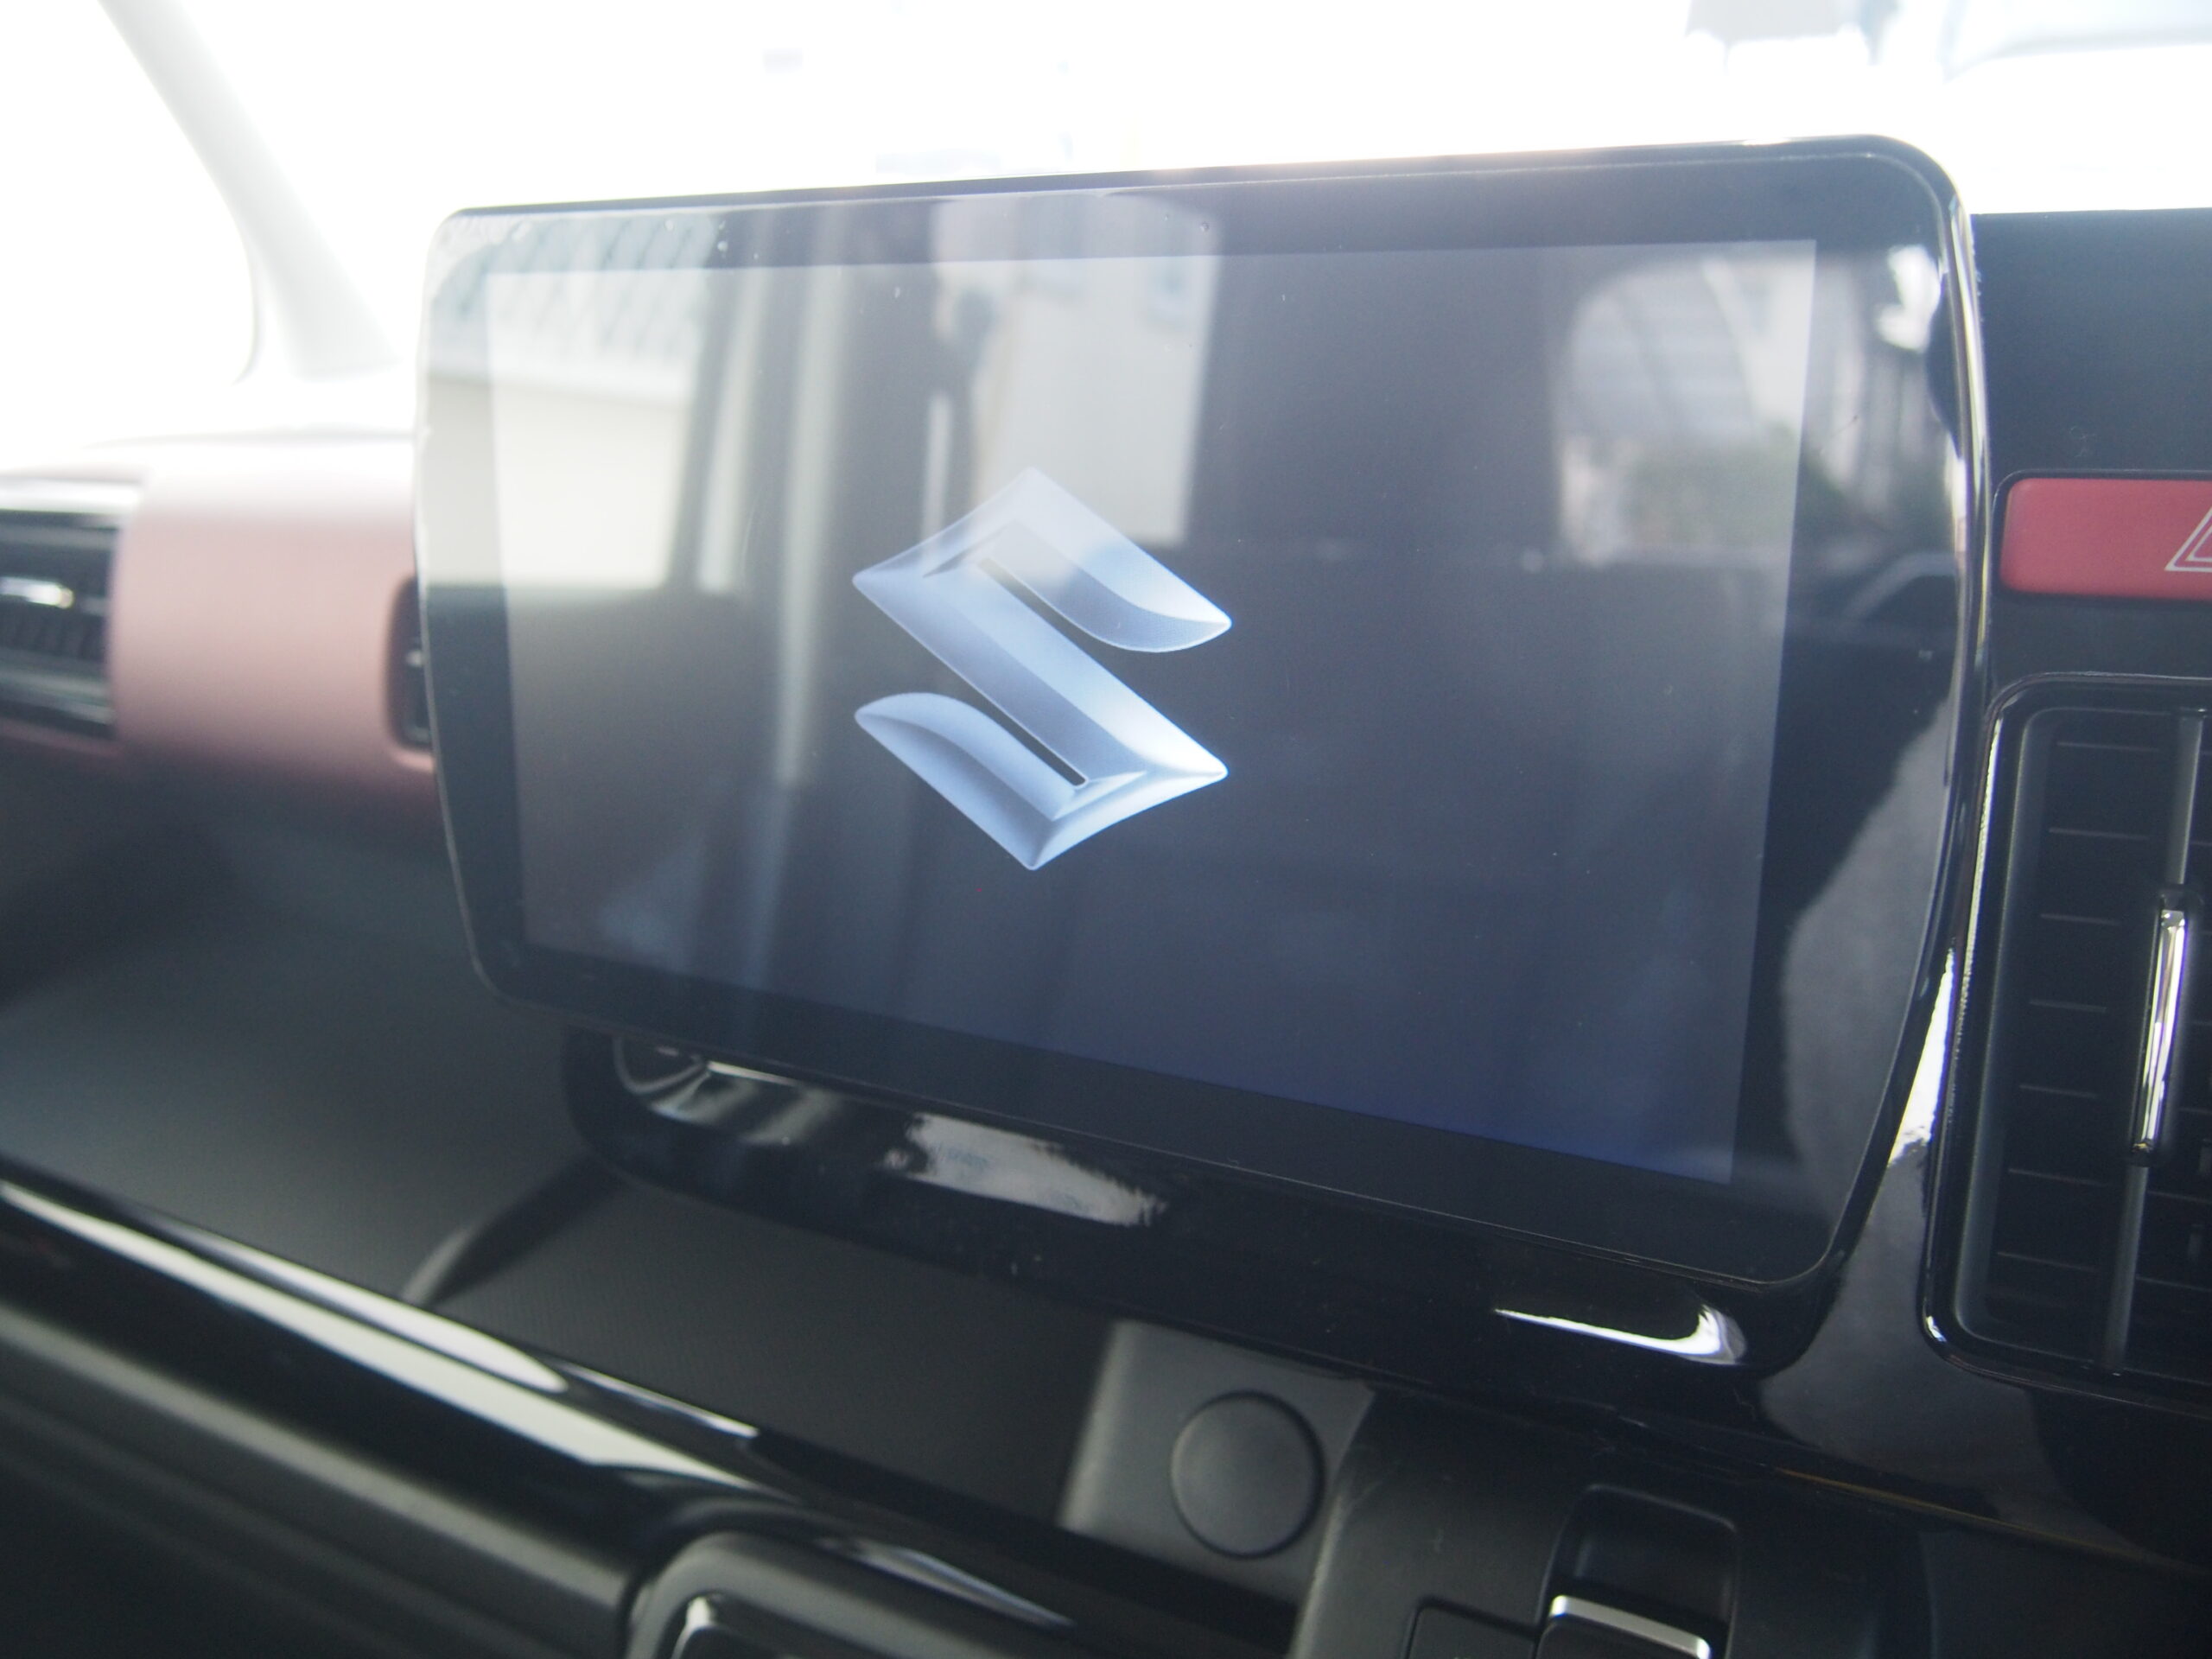
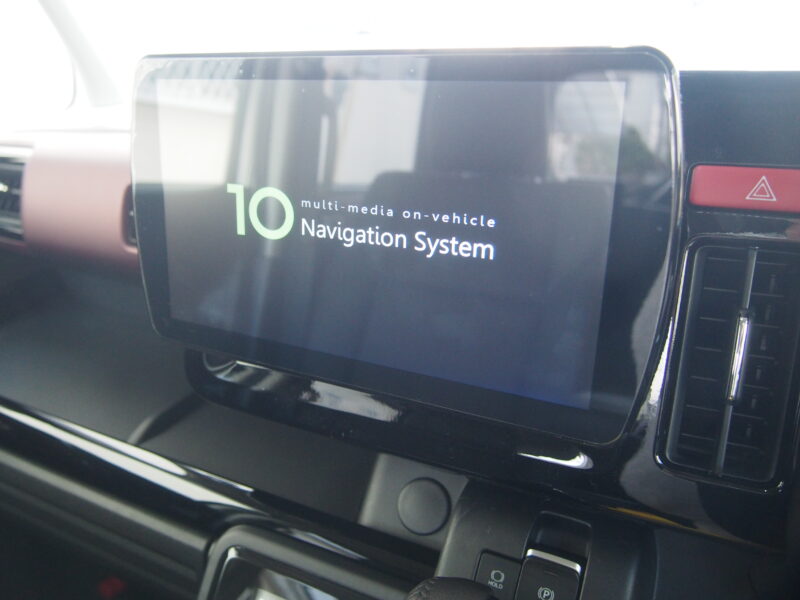
ナビの画面取り付け
STEP
メーターのカバー取り付け
STEP
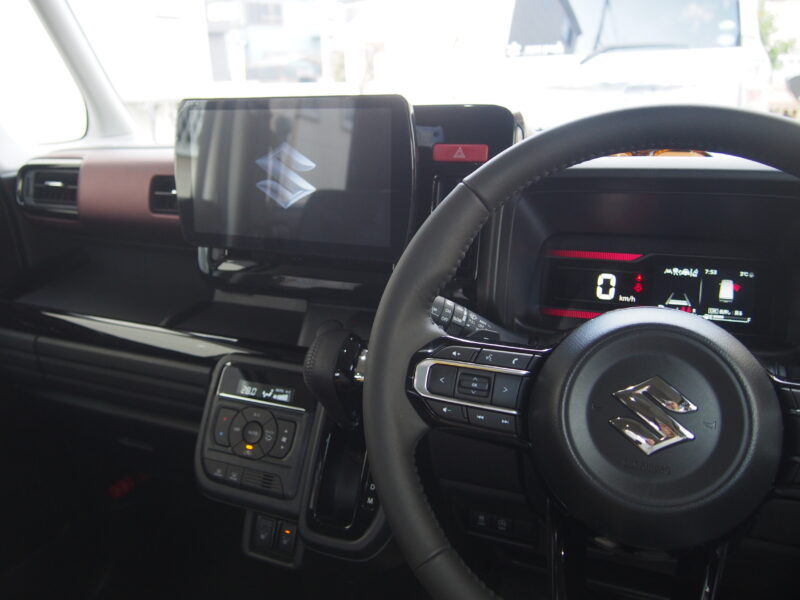
ナビ取り付け作業完了
STEP
外したバッテリーマイナス端子のの取り付け
STEP
ナビの初期設定など試運転(ロードテスト)
- 音はちゃんと出てるか(決まったスピーカーから出てるか)
- ラジオは鳴るか
- GPSは拾っているか(ナビが動くか)
- ライトを付けたとき反応するか(画面が暗くなる)
- バックに入れたとき反応するか(バックモニターが映る)
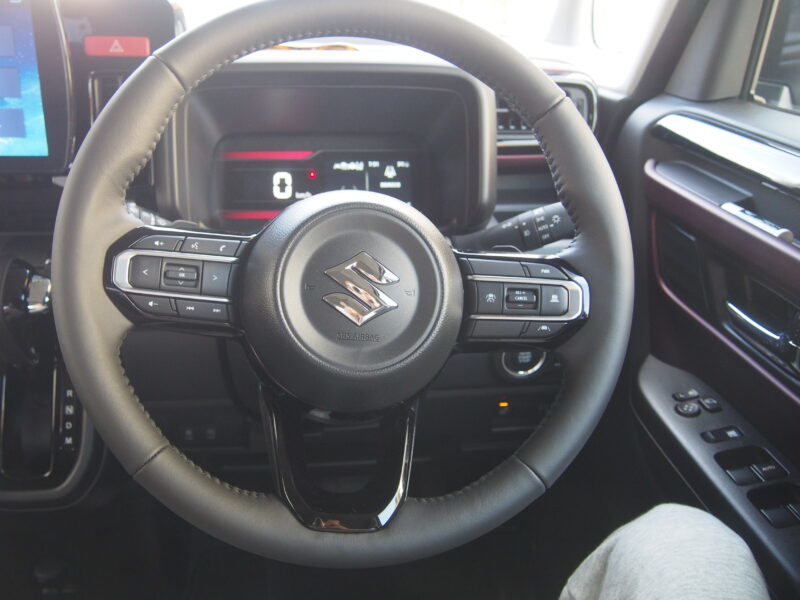
- ステアリングスイッチは反応するか
- Wi-Fiは、拾っているか
- Bluetoothは拾っているか
思い浮かんだものを書きました。
nekotoナビの初期設定は、詳しくは、下のボタンから進んでください。
STEP
完了
まとめ
長々と手順を書いてきましたが、見て頂いた方は取り付け出来たでしょうか?
少しでも参考になったという方は、コメントいただけたら嬉しく思います。
nekoto最後に、あくまでも自己責任のもと作業してくださいね。
最後に
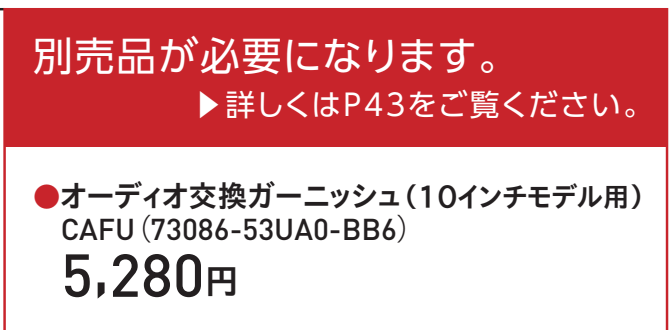
ナビとパネルの隙間ですが、私のシートポジション(目線)からだと全く気にならないので、しばらくこのまま使用してみようと思います。
気が向いたら、また考えますね。

コメント
コメント一覧 (1件)
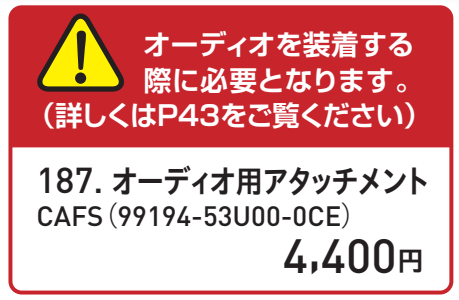
すみません。今度新型スペーシアカスタムが納車され、ATOTOA6PFを取り付ける予定の何もわからない素人です。
ナビの隙間に取り付けるアタッチメントは特に気にならなければ必要ないですか?
今現在も取り付けはされていませんか?